Graceful Lady In The Dark
In this tutorial, we will use these stocks:
Photo 1
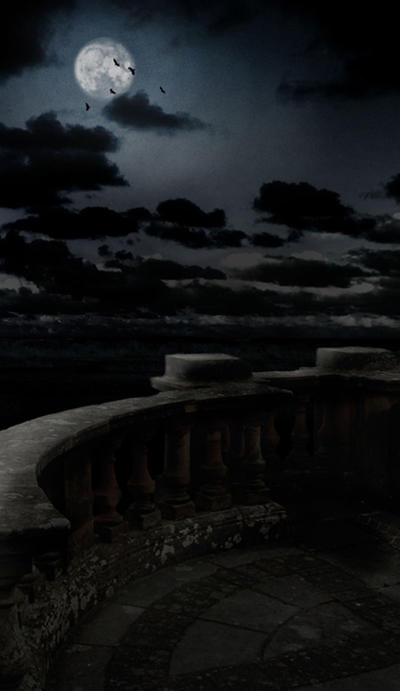
Photo 2

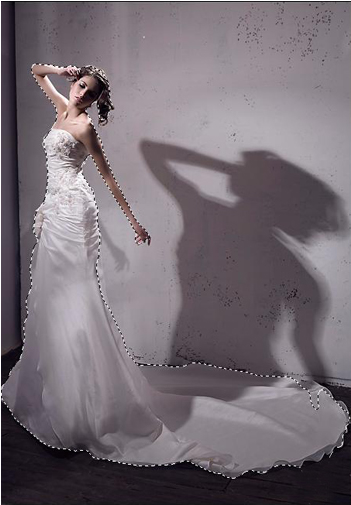
Photo 3
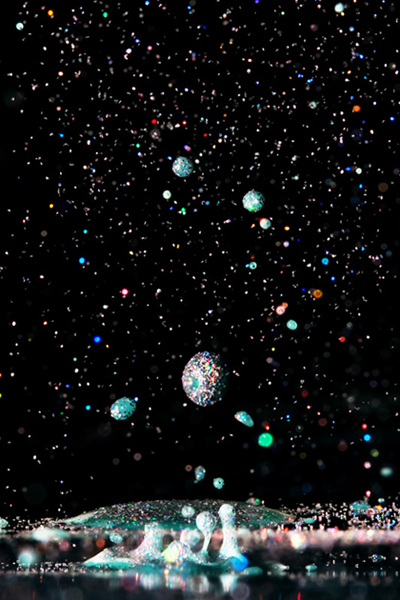
Photo 4

The first, you open Photo 1, then open Photo 2 and cut the model out
Move the model to Photo 1
Now you will make the background brighter.
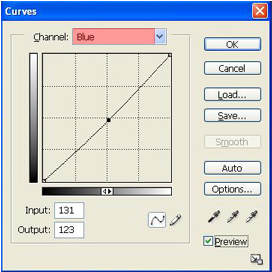
Select layer background, press Ctrl+M to open Curves, do as the picture below:

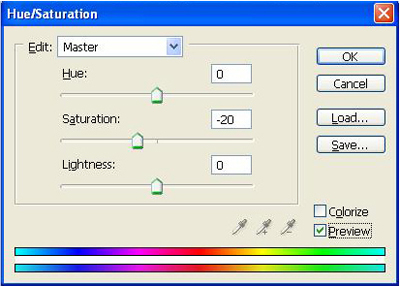
Select layer model, press Ctrl+U to open Hue/Saturation
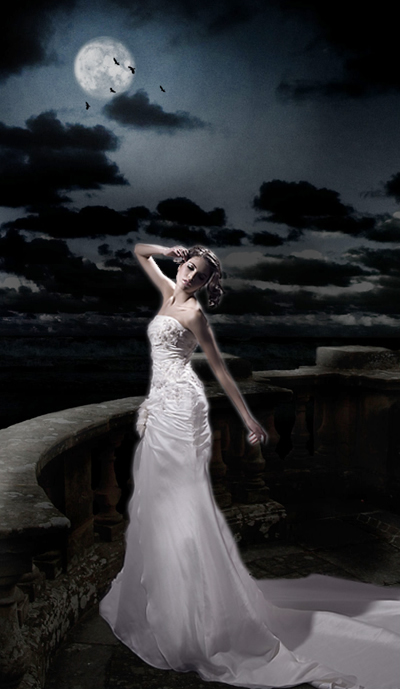
You will get:
Open Photo 3, move it to your document, change Blend mode to Screen, adjust Opacity 50%
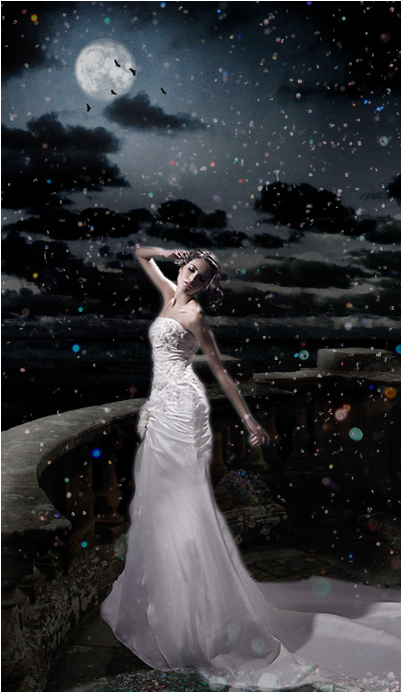
Open Photo 4, use Magic wand tool to cut the petals out of background. Change Blend mode to Screen.

Create a new layer, use soft brush 100px, brush around the model then go to Filter -> Blur -> Radial Blur


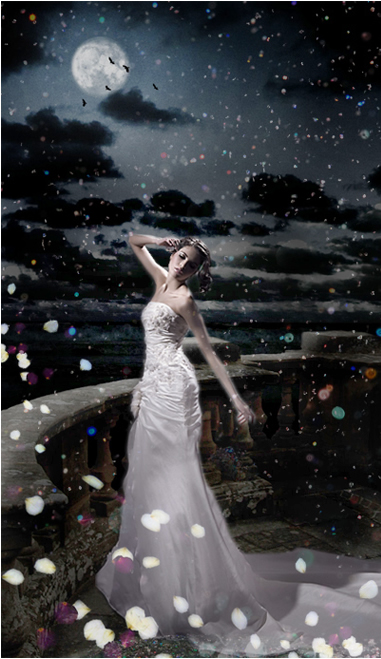
Change blend mode of layer brush to Screen, you will get:
Create a new layer, fill layer with color #988675, change blend mode to Overlay and you will get:

Merge Visible all layers, then press Ctrl+M to open Curves, set properties like this:
You will get
Open Curves one more time and do as the picture below:

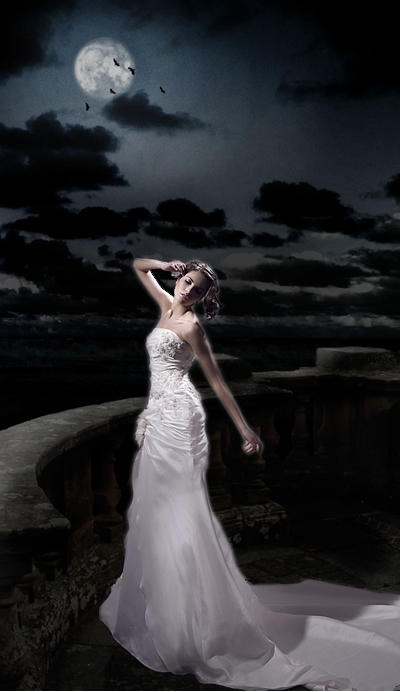
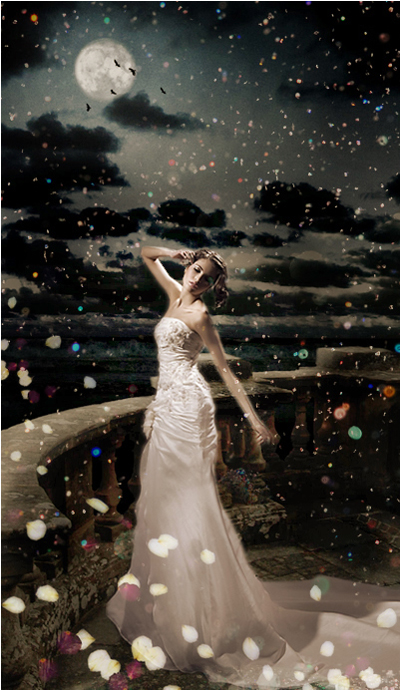
You will get the final result like this:

0 comentários:
Postar um comentário