Luz na floresta
In this tutorial, we will use these stocks below:
Photo 1:
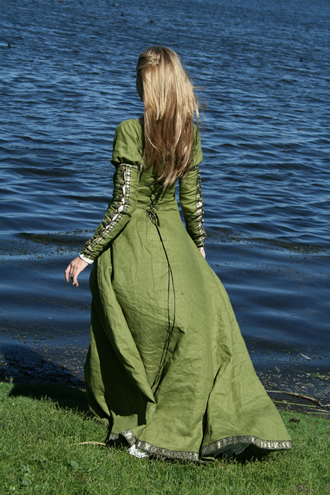
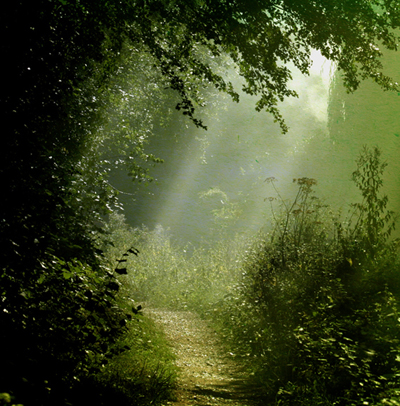
Photo 2:
Use any cutting tool to cut the lady out of background
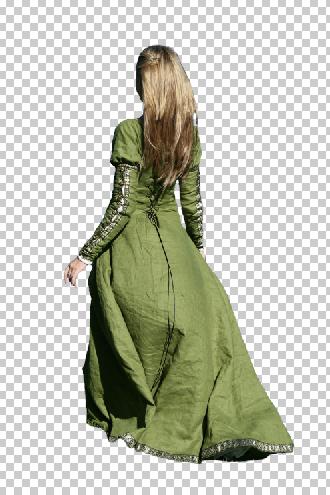
Then move the model to Photo 2
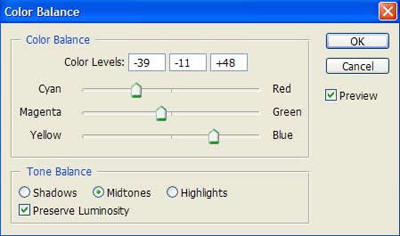
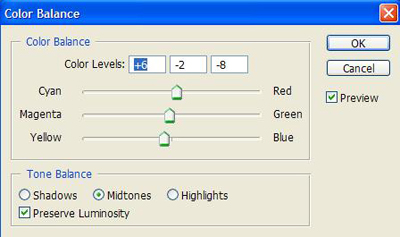
Select the layer of Photo 2, go to Layer --> New Adjustment Layer --> Color Balance and do as the picture below:
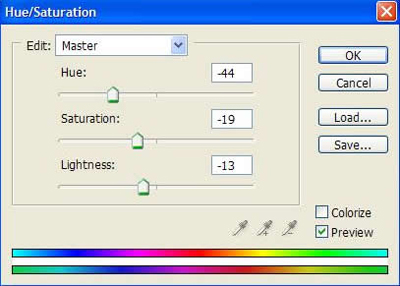
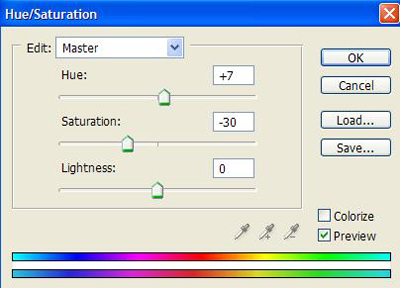
Continue to go to Layer --> New Adjustment Layer --> Hue/Saturation
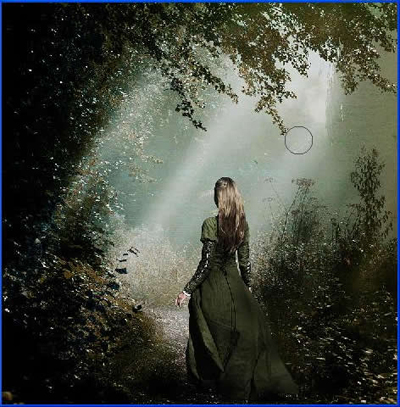
You will get the result like this:
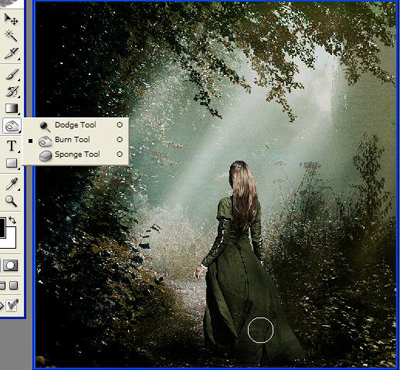
Use Dodge Tool to make the sunshine look clearer
You will get the result like this:
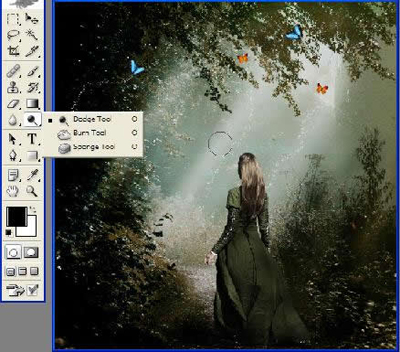
Continue to draw some dark areas for the picture by using Burn tool like the picture below
Press Shift + Ctrl + E then go to Filter --> Sharpen --> Sharpen
Go to Layer --> New Adjustment Layer --> Hue/Saturation
Go to Layer --> New Adjustment Layer --> Color Balance
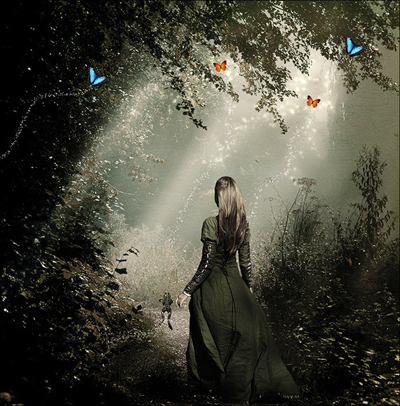
Finally, you can add more other details to make the picture looks better
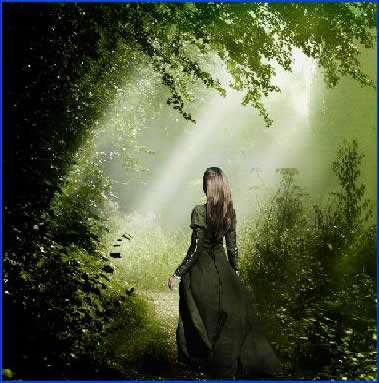
This is my final result:
Download the star brush used in this tutorial here.
0 comentários:
Postar um comentário